|
Under-exposed by 1-1/3 stops (1/500 @ f/8).
|
Under-exposed by 1 stop (1/800 @ f/8).

|
|
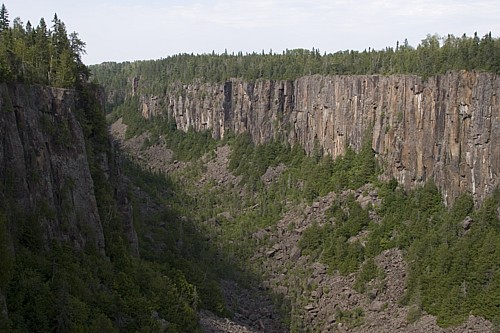
Correctly exposed - according to the camera (1/200 @ f/8).
|
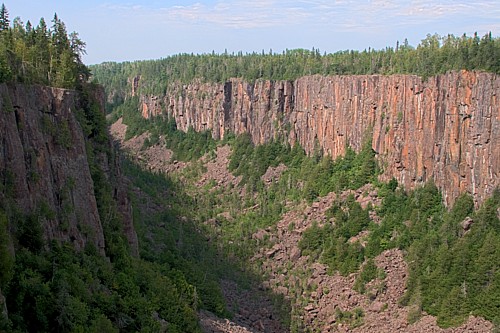
Correctly exposed - according to the camera (1/400 @ f/8).
|
|
Over-exposed by 1-1/3 stops (1/80 @ f/8).

|
Over-exposed by 1 stop (1/200 @ f/8).

|
|
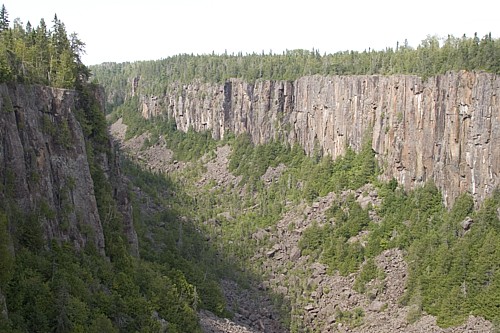
Results of PhotoShop's Merge to HDR function.
|
Results of PhotoShop's Merge to HDR function.

|
|
Notes:
1. To keep things simple I only used 3 sample images for each example. Ideally you should take more exposures with a narrower exposure offset (perhaps 5 images with 1 stop between each image).
2. The most important things to remember are:
- Use a tripod!
- Only adjust your shutter speed! Varying your f-stop changes the images' depth-of-field and will result in a mess.
- Don't try to fake it with a RAW converter! Varying the exposure settings with a RAW converter doesn't work anywhere near as well as actually taking the photos.
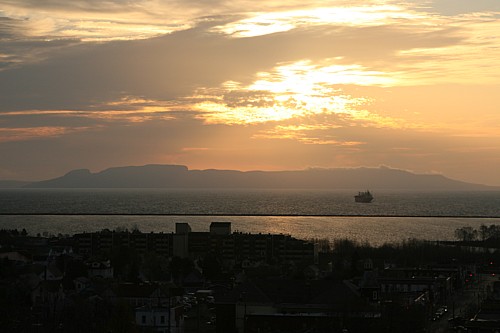
3. These images were taken at Ouimet Canyon (near Thunder Bay, Ont) in August 2007 and from Hillcrest Park (overlooking Thunder Bay's harbour shortly after sunrise on a cloudy morning) in October 2007.
4. This tutorial from Luminous-Landscape contains everything you need to know to get started working (playing?) with High Dynamic Range images using Adobe PhotoShop CS2 (or CS3).
|